Tiny House update – kitchen – bathroom – I’m finished!!

Tiny House update – kitchen – bathroom – I’m finished!!

My tiny house project was hibernating for a while. But when I decided to put a deadline on finishing it, the motivation came back and rebooted everything! The big parts that were missing were the kitchen and the bathroom.

The kitchen

For the kitchen I wanted to have at least a small area where I could cut or otherwise temporarily place ingredients, etc. I had a few different ideas of accomplishing it, most of them needing a lot of building material and time and energy, because I would build most of the rack myself. While thinking about how to get the wood for building it and how this could actually be created, I had an idea that was so much easier. I didn’t have to build anything, just put an existing cupboard, an IKEA rack and some small trays together, and voilà. That’s how it looks now: read more

(almost) running water

(almost) running water

To get myself some luxury in my tiny house, the next thing on my bucket list was to build a rack for the sink. The idea was to have some kind of canister for water storage connected to a tap, the sink, and a bucket below to catch the greywater. My goal was to produce a system that was as simple as possible while still serving all the needs I had.

This was the enamel sink I found on the internet months ago and fell in love right away. perfect size (38×40 cm), perfect weight, and most importantly: exactly the style that I was looking for. I didn’t want plastic because that’s just cheap, doesn’t look good and … well I don’t really have to list all the reasons why this just isn’t an option. Ceramic would have been okay, but it’s extremely heavy and didn’t fit into my tiny house stylistically. Metal wouldn’t have been perfect, but was the only other option I could live with, but luckily didn’t have to. The funny thing is, that the sink wasn’t only perfect for all the reasons I already mentionned, but it was also the cheapest option, because the guy selling it had a few of them and didn’t know what to do with it. read more

Walk on wood

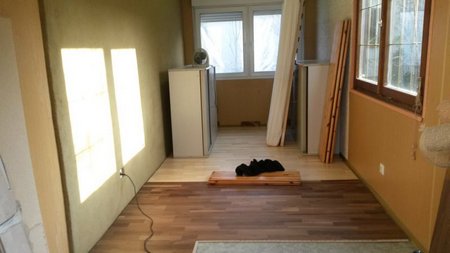
Parkettboden

The walls are built, the roof was already there. The part that was missing up until now was the floor. I wanted to have a nice wooden parquet floor, but didn’t want to pay too much. So I turned to the internet once more and found small amounts of different types of parqet floors. Leftovers from flooring projects. I got a few squaremeters maple, walnut, and oak – all new – for €90 all in all (probably half or less of the original price). Still not cheap, but a price I can live with. read more

I’m building a wall…

adobe wall

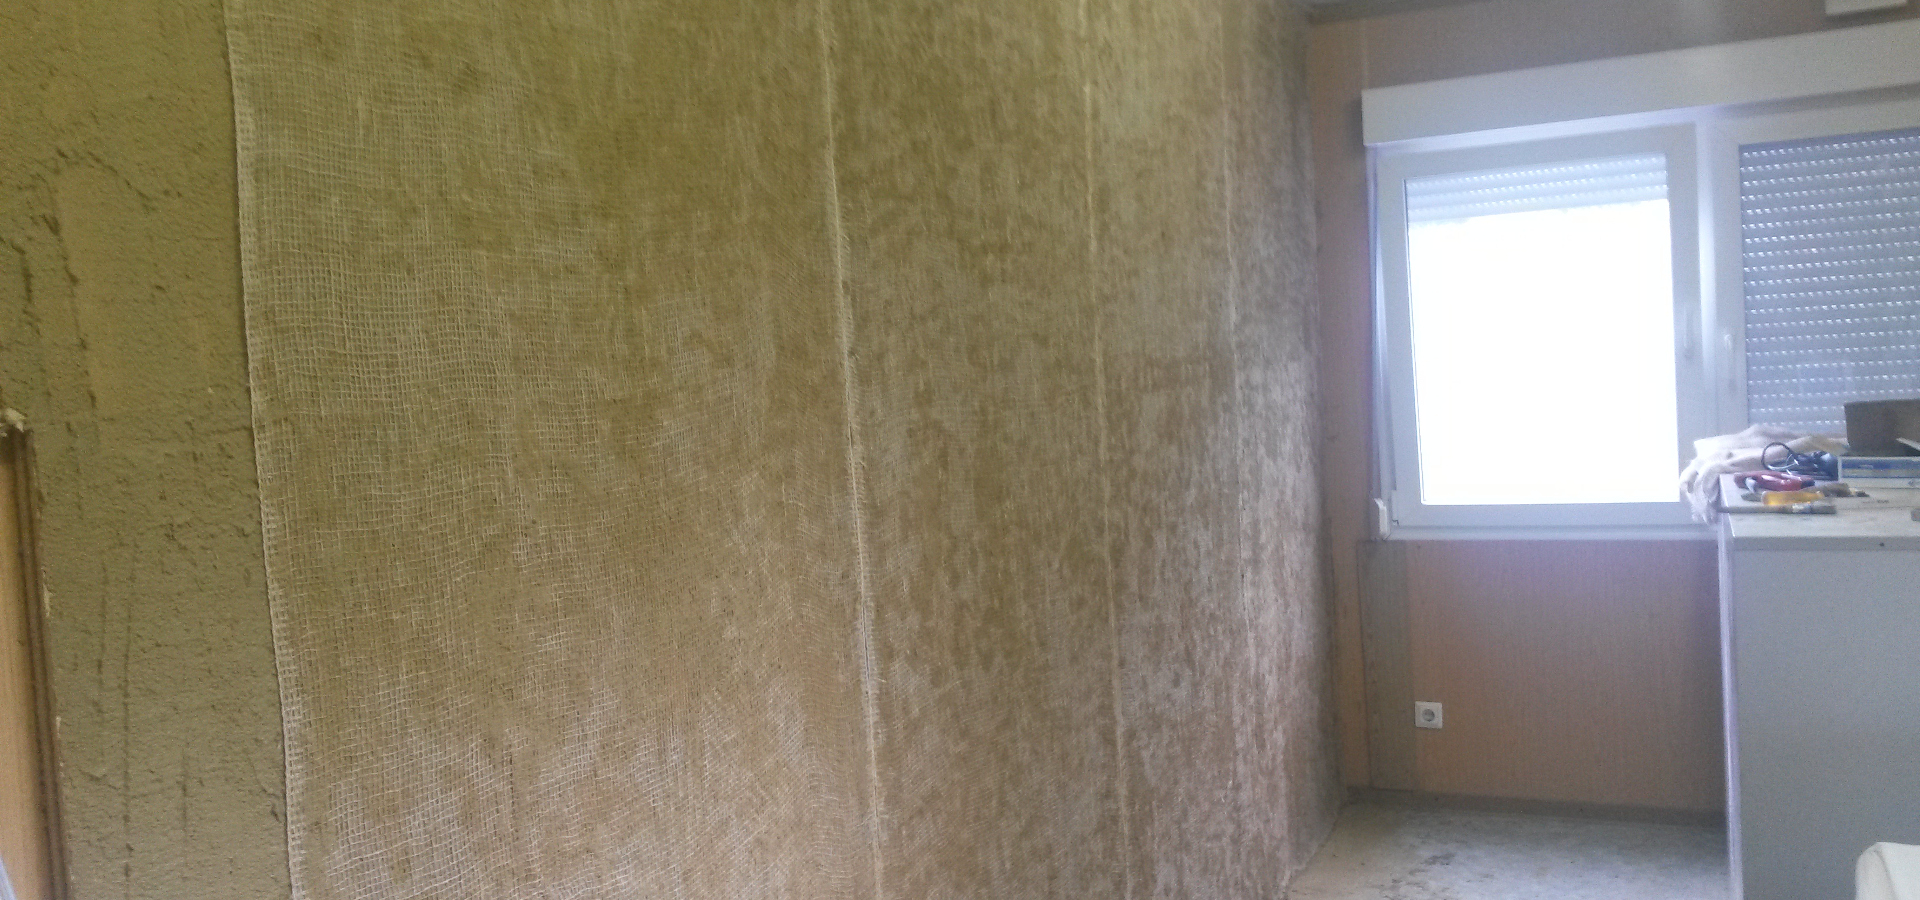
As I already wrote about in my previous post, the next step of re-doing my container is to put up a clay wall. Since pictures sometimes tell more than a thousand words, this one is going to be (mostly) a foto-story:

bags of clay

I had already bought the dry mixture for the clay. My decision in the bying process was random, because I can’t really tell the difference at the moment anyway. So first, I had to fix the soft fibre boards to the wall. The woman that had sold me the clay recommended I “stick” the boards on with clay. So I started mixing the sand-mixture with water – having no idea about the needed consistency, and started putting it on the soft fibre board (lying on the floor). read more

My tiny house project is still running

Tiny House Container

Finally, some updates on my tiny house (container) project. It was a little quiet on that front, because first nothing much actually happened, and then a lot happened, but I just didn’t take the time to write down everything, because I wanted to DO. Since I’m now almost finished with the first step, this is going to change.

I decided a while back that I didn’t like to keep the walls of my container the way they were, because they look (and are) cheap and also don’t create a good interior climate. Since the whole thing is a big experiment on tiny living, tiny experiments are always welcome. That is why I decided to try out putting up a clay wall inside my container. Just one wall for now, but if I like it – and also want to invest the money – a second wall might follow. read more

Interior Design – first draft

Plan Interior

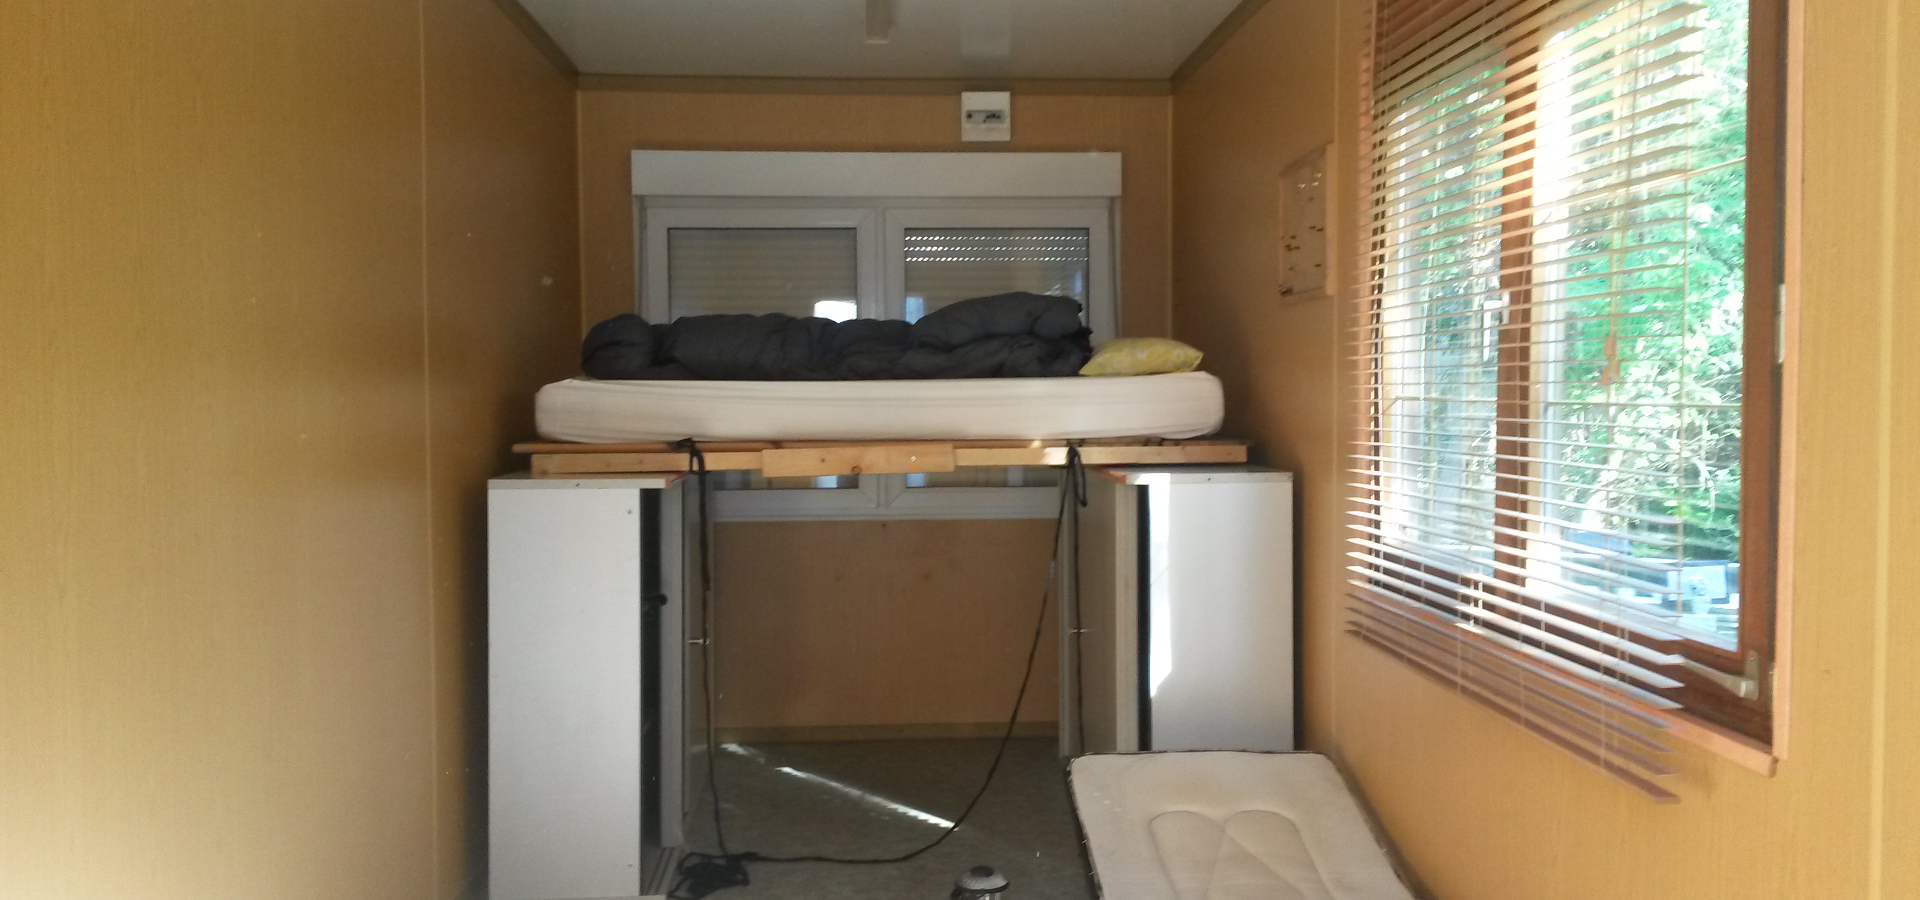
It took me a while, but I finally finished the first draft of the interior design of my container tiny-house. Before I bought the container, I already had some ideas of how to organize everything on the inside, but the placement of the windows and the door limited my options greatly, so I had to re-plan the whole thing. I still haven’t figured out how to manage the windows on the short side, because the loft bed gets in the way of opening them completely. The height of the loft bed is kind of fixed, because with the container also came (among other furniture) two identical robust cupboards that I intend to use as base for the loft bed. read more

My rusty bucket

My rusty bucket

Additionally to my “big” and relatively new office container, I also additionally got an old construction trailer without axis or wheels. It’s only 4m x 2,2m (compared to the office container that’s the standard size of 6m x 2,5 m) and is only the aluminum shell with a makeshift floor and I’m not even sure if there aren’t any leaks in the roof. Also it is/was “a little” rusty in places. Here are some first impressions in her new place next to my living container: read more

My new home

My new home

The idea in the beginning was – and still is – to build a wooden tiny house on wheels out of only or mostly natural materials myself. This takes a lot of time and money – especially because I don’t have any idea of what I’m doing… After a lot of dreaming and thinking and planning, but not really getting anywhere, opportunity stared me in the face and I stared back a second and then jumped on it. Opportunity came in the form of an office container. It’s like these standard shipping containers (6 x 2,5 m) that is minimalistically insulated and mostly used as office on construction sites. That’s how it looked when I first laid eyes on my new home. read more